
For our first instalment we are looking at murals, and how to hang them…
Be Prepared…
Grab your tools (paste, brush, table, trimming tools and plumb lines), give yourself a free afternoon and get your DIY hat on and get started. Begin by preparing the surface for hanging. Scrub, size and line your walls for that perfect platform, it is crucial for a quality finish. Get everything ready and laid out, so things run smoothly.
LWP Tip: Turn off the power and remove any fixtures on the wall, for safety and ease of access!
Sort Out Those Strips!
Get organised; your mural will arrive in equal strips tailored to the dimensions of the wall they have been earmarked for. Remove them from the packaging and organise them left to right, in an order depicting the design. Using a plumb line for straightness, divide the wall into sections in coordination with the strips. When measuring, remember to leave room for trimming and general wastage.
LWP Tip: The strips do NOT always come off the roll the right way up; make sure they are all correct and draw a ‘T’ on the back at the top to save confusion!
Add the Glue…
After you have your tools and the wall is prepped, and all the strips are in place, its time to get it on the wall. Apply paste; depending on the hanging guide on the label you may need to do this on the strips or on the wall. With many designs now being non-woven, it is more common that you will be applying paste directly to the surface, so less drying time and even less mess!
LWP Tip: For such a high-quality design you would benefit from using a high-quality, ready-mixed paste. Apply liberally and evenly for effective adhesion, but not too much as it could seep through the paper!
Time to Hang!
Once the paste is on you can finally hang the thing up! Make sure you are steady when handling the strips; sometimes folding the edges and the middle gently (without a crease!) gives you more control. Begin at the top, make sure it is in line and straight up, and work down, making sure the strip is true to the wall, then trim off any excess at both ends. Use a plumb line or a level to ensure straightness. Once you have the first strip up, the others should be more straightforward as you can use the first strip as a reference point. Smooth out any kinks with a brush or smoothing tool, and make sure your edges are sharp and clean.
LWP Tip: You might find it useful to wait a few hours until the paper dries before trimming off any excess!
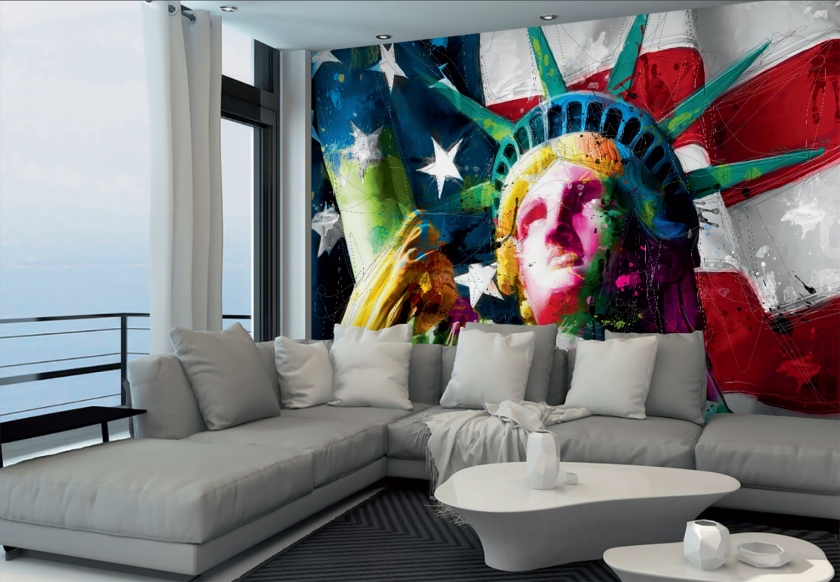
Stand Back and Admire!
Assuming everything went according to plan, you should at this point be able to take a step back and purvey the finished product; a stunning image beautifully displayed across an entire feature wall. Your hard work is done so put the kettle on and give yourself a well-deserved pat on the back!
LWP Tip: Remember to turn the power back on!
Please like us on Facebook (facebook.com/LWP.online) and follow us on Twitter (@LWP_online) and Instagram (@lwp_online).
Have a nice day!

